Hole #1

A tough starting hole. Fairway ends about 20 yards before the creek. Keep your approach shot below the hole, as this green is severely sloped. 4 is a very good score.
Hole #2

A demanding hole that requires distance control off the tee. Too short and you'll have a side-hill lie, too long and you're blocked by trees. The perfect tee shot will carry to the crest of the hill and leave a long shot to huge gentle green.
Hole #3

A modest, uphill par 4. A big drive will leave a short wedge to this elevated green. There is more room between the green and the bunkers than it appears. Going over this green should be avoided at all cost.
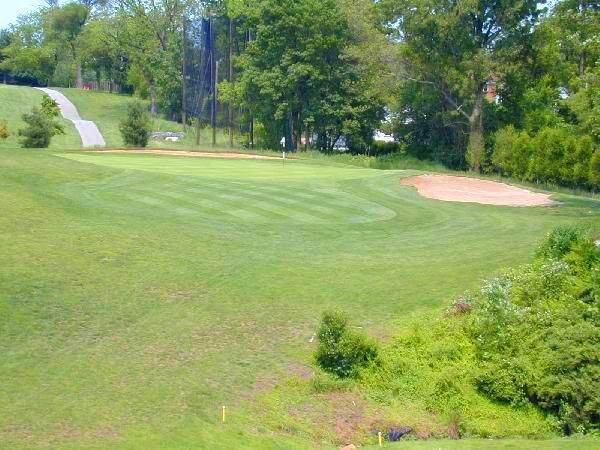
Hole #4
The best approach is from the right side of the fairway, but too far right and you're in big trouble. This heavily contoured green presents a real challenge.
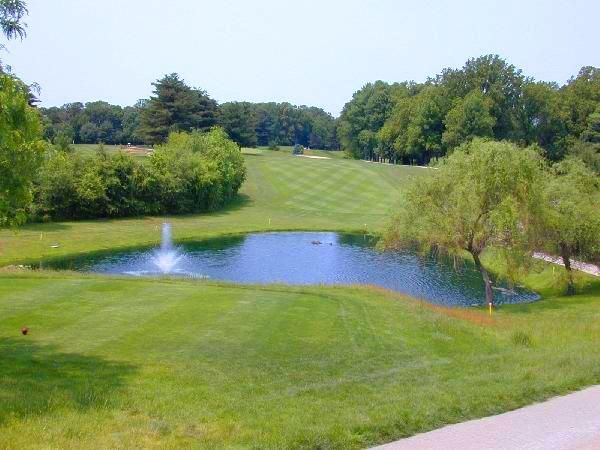
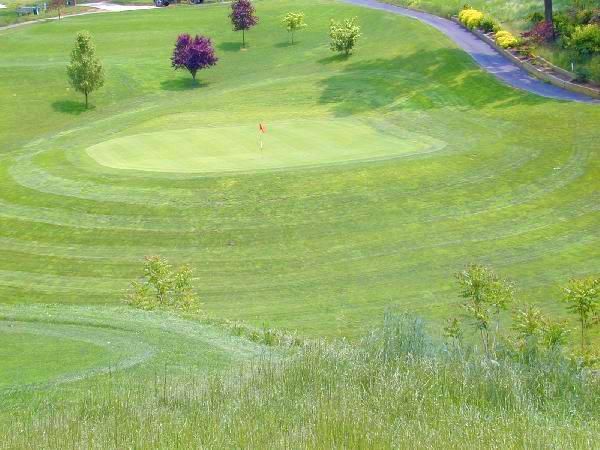
Hole #5

Shots that reach the area of the green will bounce and roll to the right.
Hole #6
Hole #7

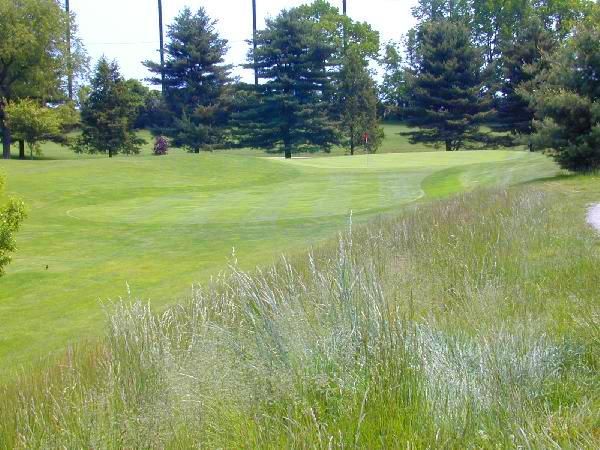
Hole #8
Hole #9

Consider using one extra club to this uphill, contoured green. If the pin is tucked left, the safe play is to the middle of the green.
Hole #10
Hole #11

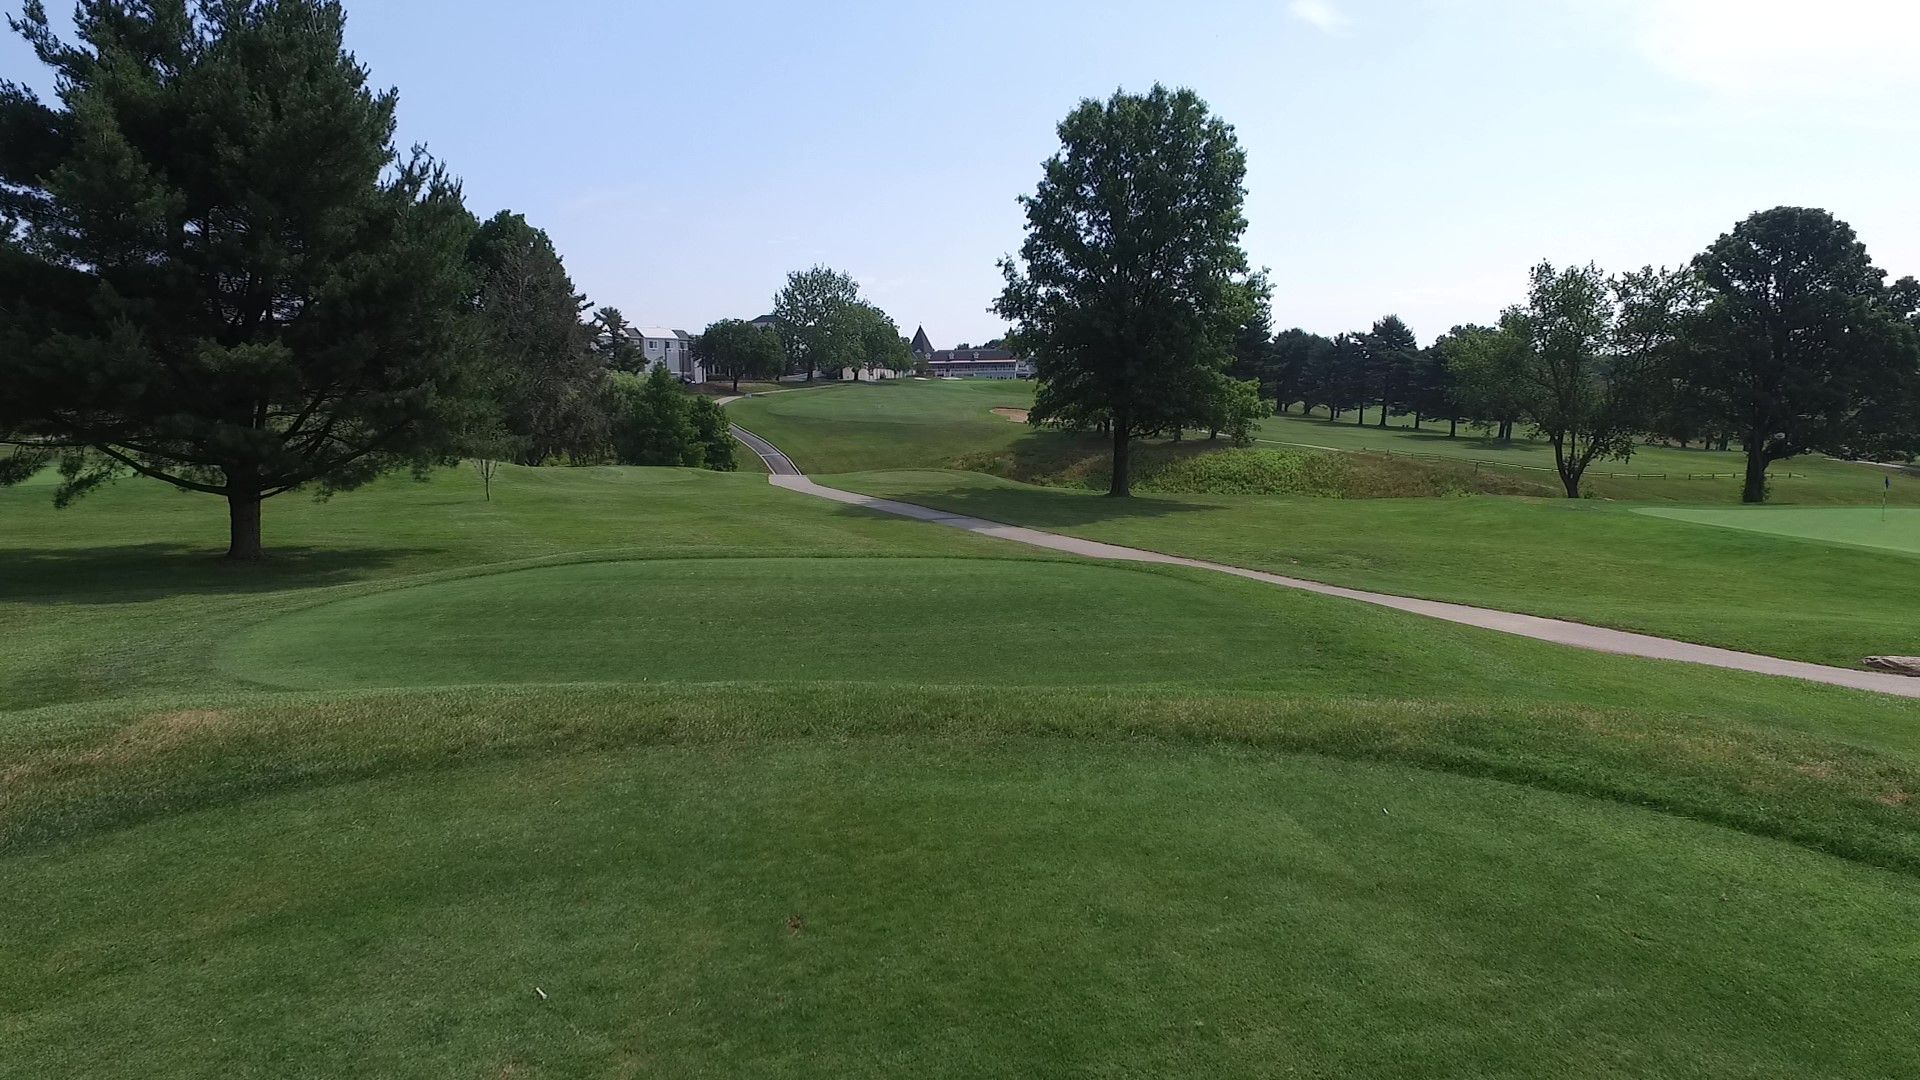
Reachable in 2, especially since the last 100 yards is downhill. Don't miss this green to the right or you'll be OB.
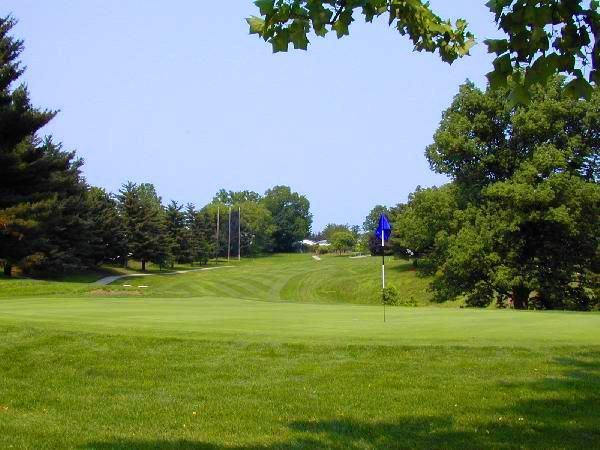
Hole #12

Stay below the hole, as this green slopes from back to front.
Hole #13

While a big drive can reach this green, it will require luck to avoid the trees. The smart play is a shorter drive into the fairway then a wedge to the pin. Avoid going over the mounds behind this green.
Hole #14
The shot is all to this picturesque par 3. The ball will usually kick left off the slope beside the green. Stay below the hole if possible.
Hole #15

Though reachable in 2, this gentle green is guarded by a deep bunker in front and 3 pot bunkers in back. The safe attempt is to the front right side of the green.
Hole #16
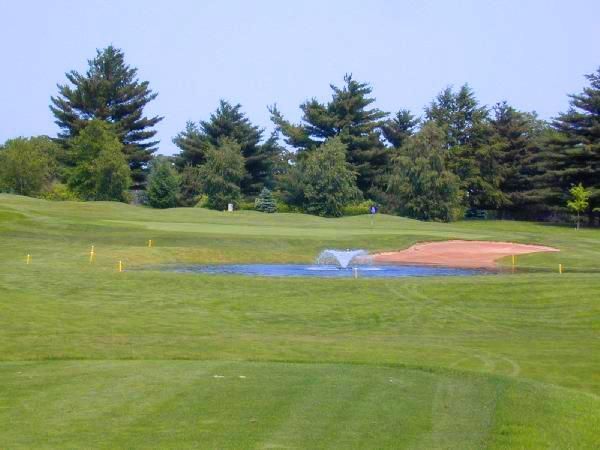
While the 'Beach Bunker' is a good place to sun yourself, take enough club to carry the trouble. Balls on the green tend to release and roll right.
Hole #17

There is a blind bunker on the right side at the top of the hill. The left side of this firm green is severely sloped and the right side is shallow. This makes it difficult to get close to the hole.
Hole #18
Favor the right side of the fairway for the best approach. This green slopes from back to front and from left to right. Stay below the hole for an easier putt.